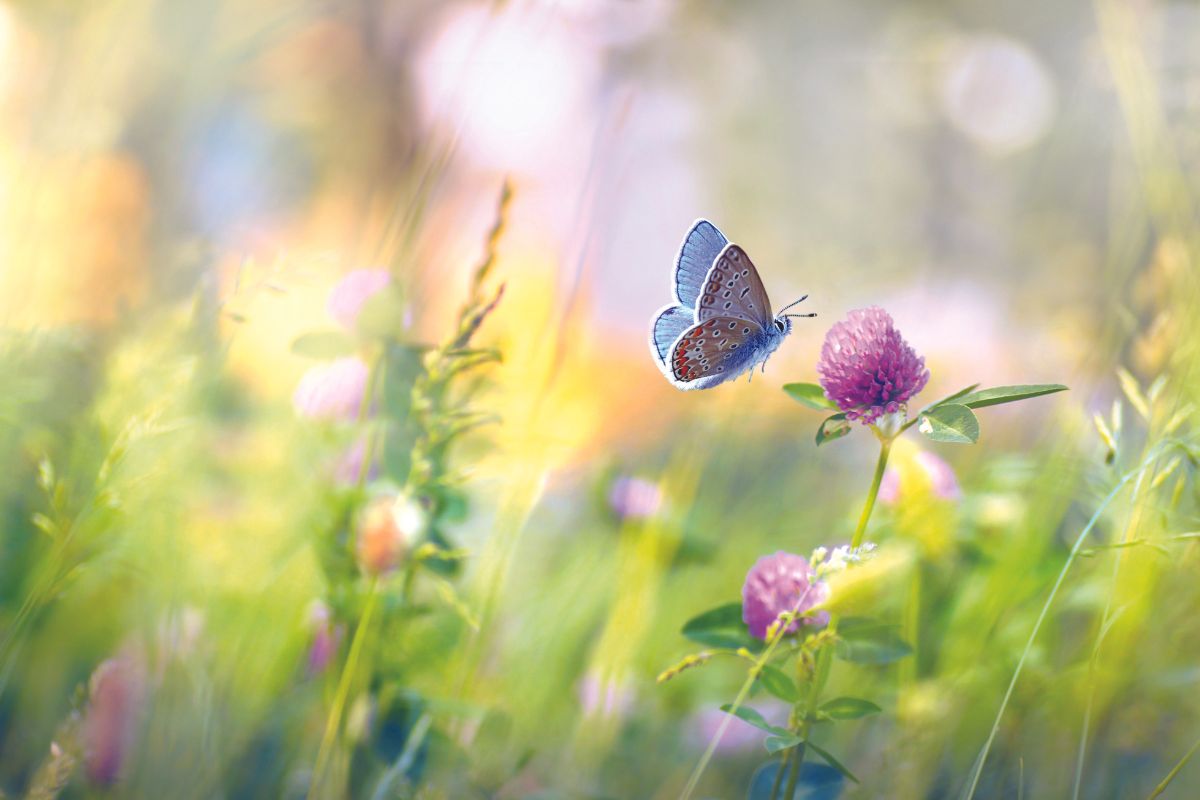

Are you looking for a great summertime activity to do with friends or family? Consider making and scattering pollinator seed balls. Inside each seed ball is a mix of native seeds that, when planted, contributes to the creation of habitats that support and attract pollinators like bees, birds and butterflies, and promotes biodiversity and a healthier ecosystem.
To make pollinator seed balls, you will need a few materials, including:
- Native wildflower seeds. Choose a mix of native wildflower seeds like milkweed, black-eyed Susan, purple coneflower and white yarrow. These are all native to the Midwest and known to attract pollinators. You can find seeds at gardening stores or online.
- Clay. You can use powdered clay found at gardening and craft stores, or dried ground clay. Make sure it's free of any additives or chemicals.
- Compost or potting soil. This will supply nutrients to the seeds as they grow.
- Water to moisten the mixture and bind it together.
- A large container like a bucket, as well as a trowel or large, sturdy spoon. These are to mix everything together. You’ll also need a tray or place to dry the balls.
- Optional: Use vermiculite or sand for extra texture and to aid seed dispersal.
Instructions
Step 1: Gather your materials and choose a suitable location to make the seed balls. It's best to work outdoors or in a well-ventilated area with a large flat surface.
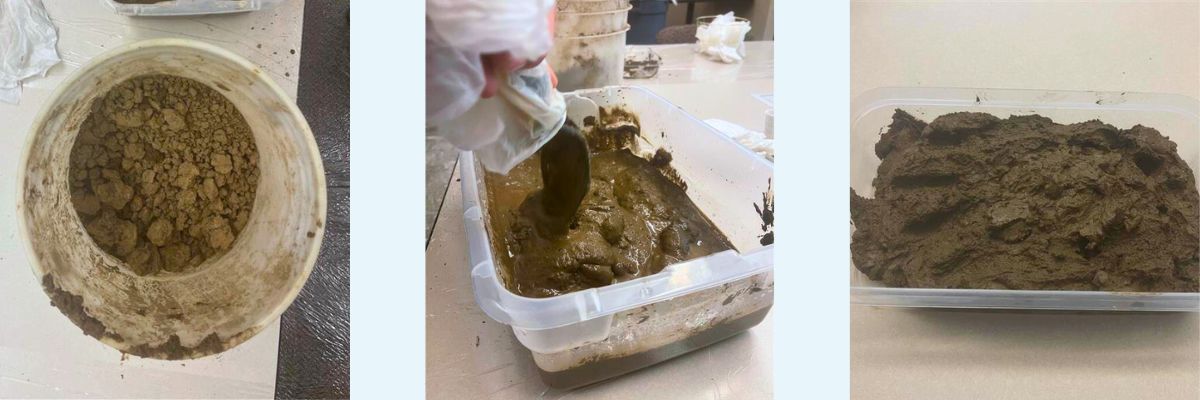
Step 2: In a large container or bucket, mix the powdered or dried clay with an equal amount of compost or potting soil. If you want, you can also add a small amount of vermiculite or sand to create a more textured surface and make it easier for the seeds to establish themselves.
Step 3: Slowly add water to the mixture while stirring. The goal is to achieve a dough-like consistency that holds its shape when squeezed. Be careful not to make it too wet or sticky.
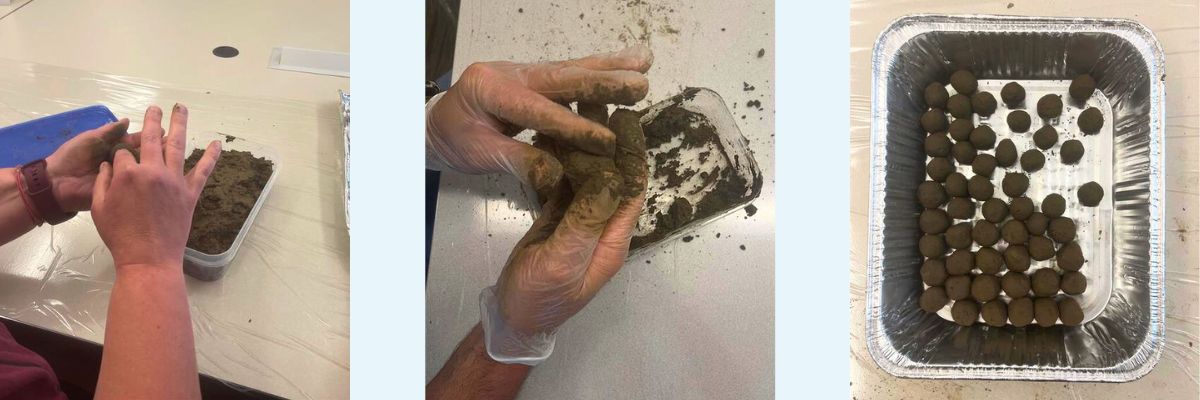
Step 4: Take small portions of the mixture and roll them into balls about the size of a golf ball or large grape. Add four or five seeds to each ball as you roll it. Place the seed balls on a tray or surface to dry.
Step 5: Allow the seed balls to air dry for a day or two until they harden. This will help them hold their shape and prevent them from breaking apart.
Step 6: Once the seed balls are completely dry, they are ready to use. Scatter them in gardens, meadows or any areas where you want to encourage pollinator activity. The rain and natural elements will gradually break down the clay, allowing the seeds to take root.
A few things to consider when ‘dropping’ your seed balls: like other plants, the seed balls will need water to sprout and grow. Be strategic about when you drop them – we recommend scattering them before a rain shower. If you’re placing them in a garden or a planter, water the area regularly, especially during dry periods, to support their growth.